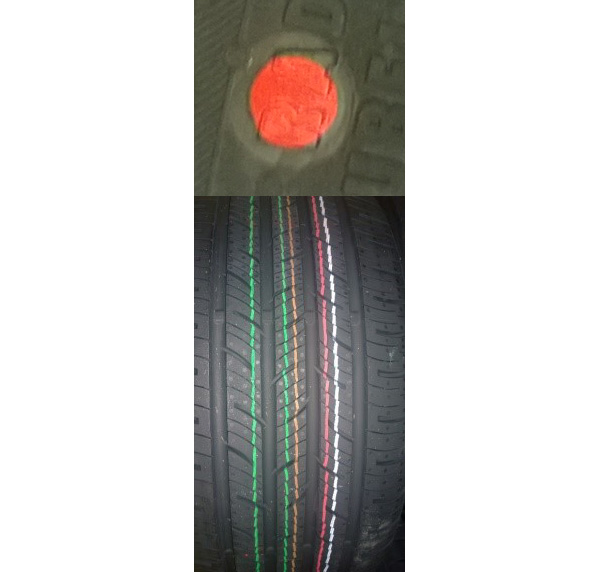
Tire Marking Inspection
The system is intended for the inspection of markings on the sidewalls and tread when the tire is moving on the conveyor:
type of marking (colour, marking size, marking shape),
location of the mark on the sidewall with respect to the reference position,
determination of an angle between the marks
The inspection is carried out from the top and bottom of the sidewall on the conveyor.
Marks: geometric shapes, characters, InkJet letters, Hotstamp, and LTA
Control system: Rockwell / Siemens

Version:
- TMI 8301.I.S.W: Inspection of the sidewall segments at the location of marks at the marking workstation
- TMI 8301.I.S.TB: Inspection of the entire sidewalls
- TMI 8301.I.TR.A360:
- TMI 8301.I.S.TR30 : inspection of the entire sidewalls and tread segment 2x 30 degrees
- TMI 8301.I : inspection of the entire sidewalls and entire tread
Option:
- Marking radius
- Marking angle
- Inspection of the sidewall's contamination with paint
- Calibration objects
Operating range:
- Tire width from 95 mm to 400 mm
- External diameter from 500 mm to 1000 mm
- Rim size 13" to 24"
- System capacity: 7,000 tires per shift
Installation options:
- Part of the marking workstation behind the uniformity testers TMI8301.I.M and TMI 8301.I.TB
- Part of the conveyor system or the central marking system: TMI 8301.I.TB, TMI 8301.I.A30, TMI 8301.I
Benefits:
- The cameras are installed in a fixed position - there are no vibrations from the cameras changing position
- The system is enclosed to protect against external illumination
- The robustness of the system is provided by stable calibrations
- The camera and light enclosures prevent the resetting of the system during cleaning
If interested, please contact the sales department.
